


Who needs an automatic PayPal receipt generator?
Collecting payments online has never been easier with payment tools like PayPal. PayPal services let you securely collect customer payment data directly on your website to capture orders, donations, and more with the click of a button. On top of collecting payments, it’s important to also communicate with your customers.
With Formstack Documents, you can automatically generate contracts, invoices, receipts and more from PayPal payments. You’ll never have to copy & paste again!
In this example, we’re going to show you how to automatically send a thank you letter to new customers in PayPal.
What do you need for this tutorial?
- A receipt template with merge fields ({$FirstName}, {$DealName}, etc.)
- PayPal account
- Formstack Documents account
- Your Formstack Documents API Key and Secret
Here's a look at the template we're using for this tutorial:
Follow these Steps to Automated Receipt Generation
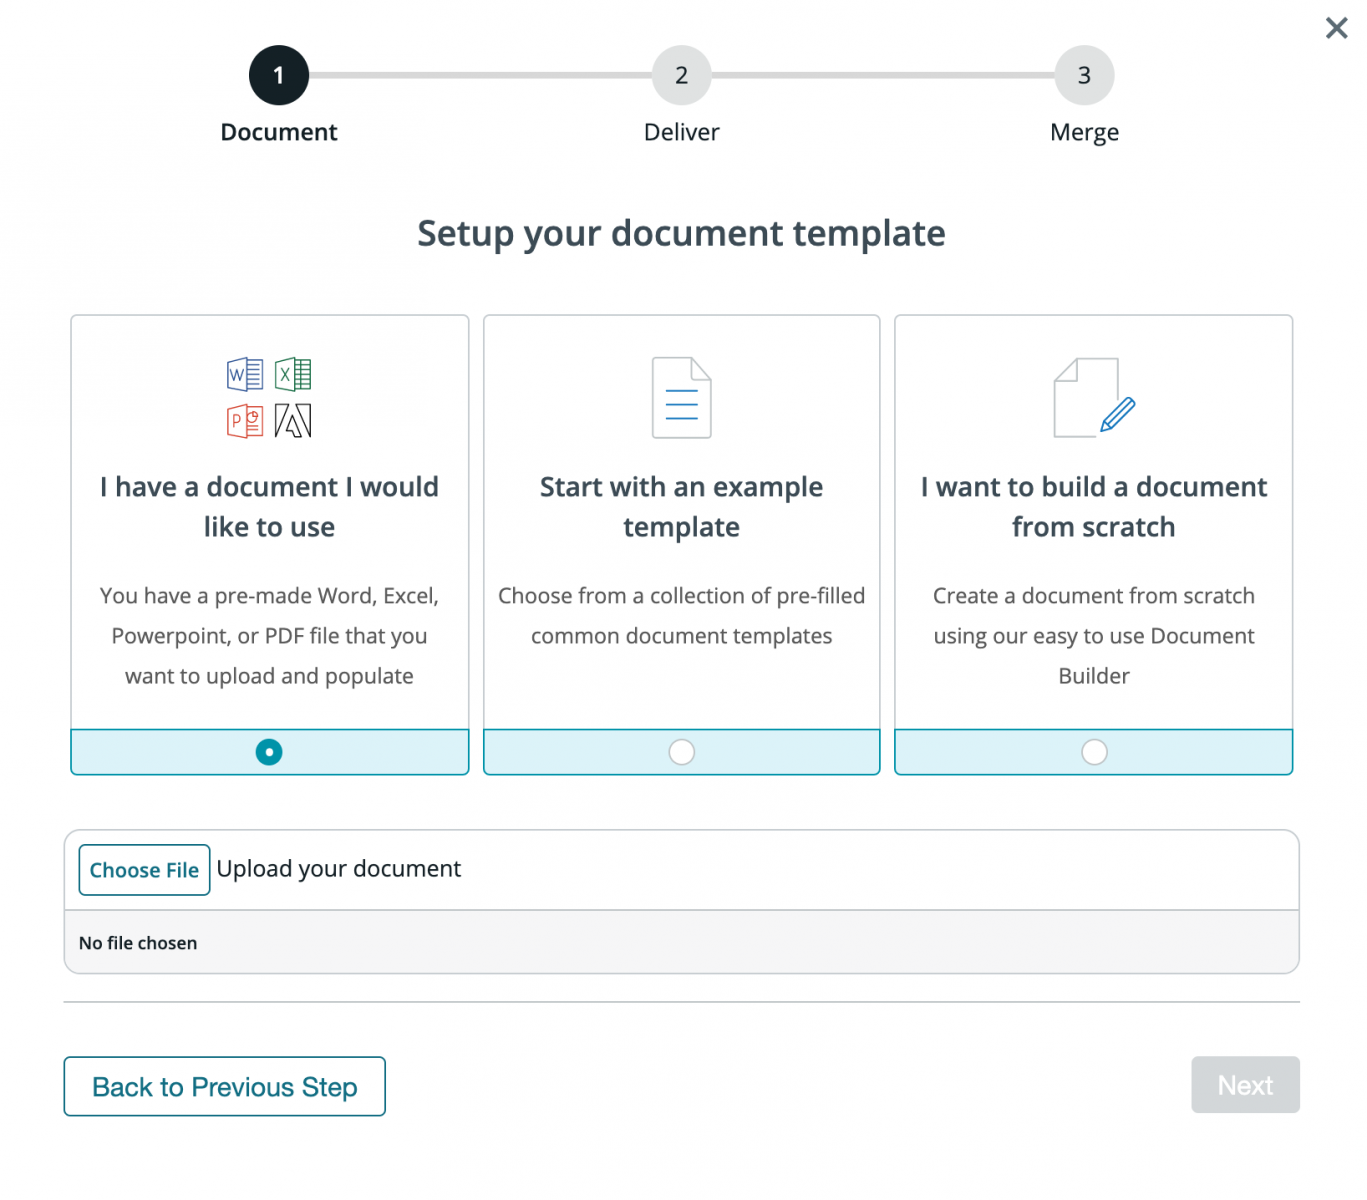
We’ll start in your Formstack Documents account. Select “New Document.” You’ll be prompted to give your document a title and set up your template. You have the option to upload a Microsoft Word document, Excel spreadsheet, PowerPoint, or PDF; to start with a Formstack Documents example template; or to build your document from scratch.
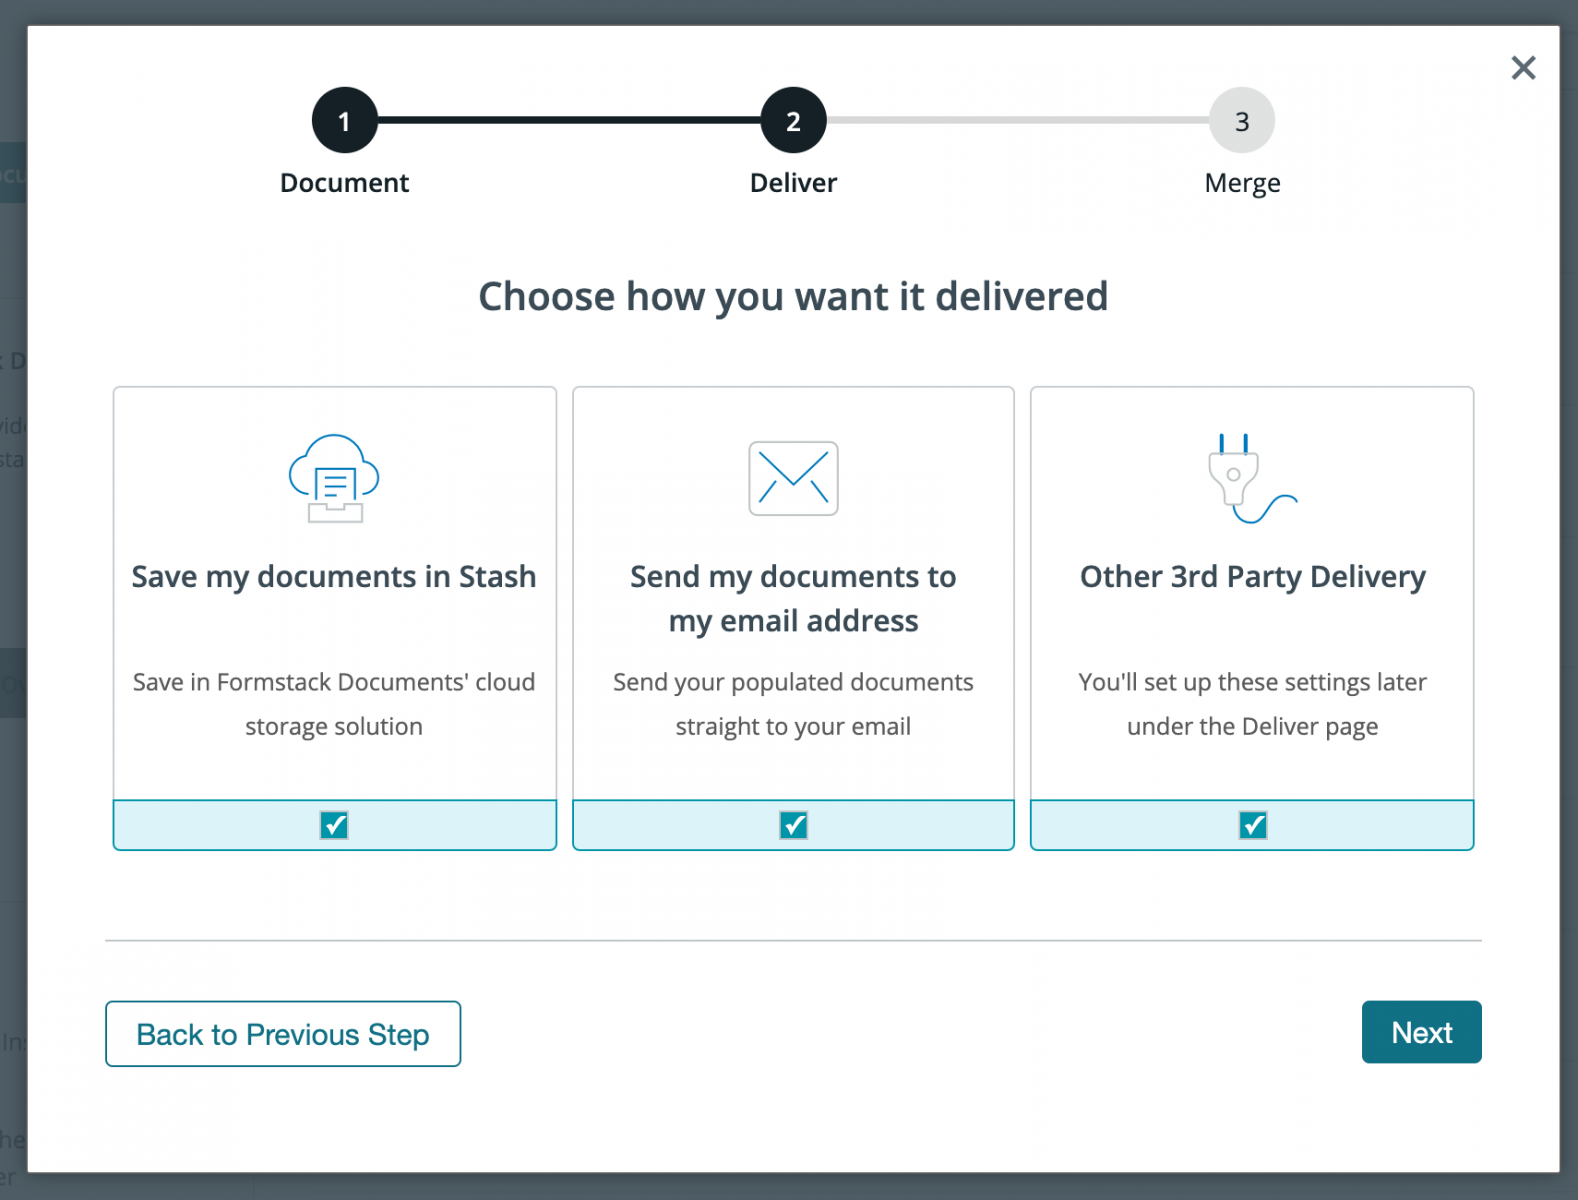
Next, choose how you want to deliver your populated document. We’re going to save our document in Formstack’s HIPAA compliant cloud storage tool, Stash, share our document with our clients by email, and send our document for signature using Formstack Sign. Select all three boxes.
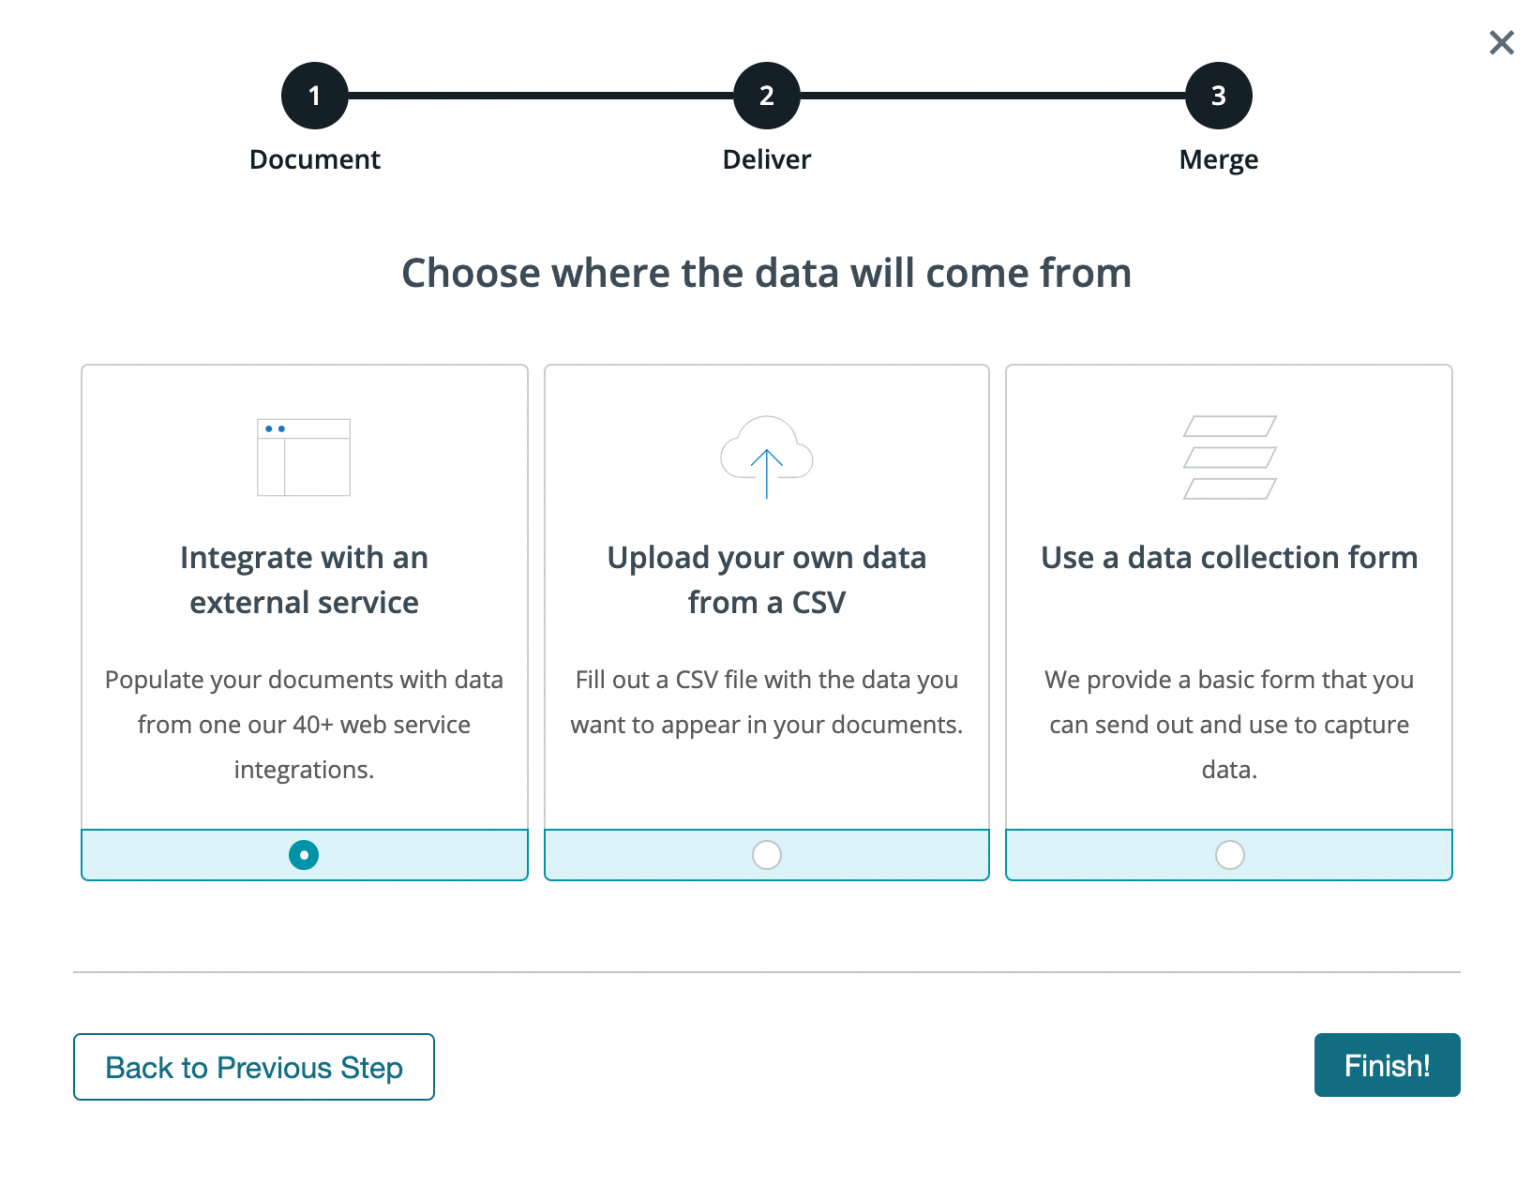
Finally, we need to choose where our data is coming from. We'll choose "Integrate with an external service" since we're connecting to PayPal.
After you’ve uploaded your template, you’ll be taken to the Settings tab where you can modify various options like the type of file that is generated and the name of the file. For this example, we want our document output to be a PDF.

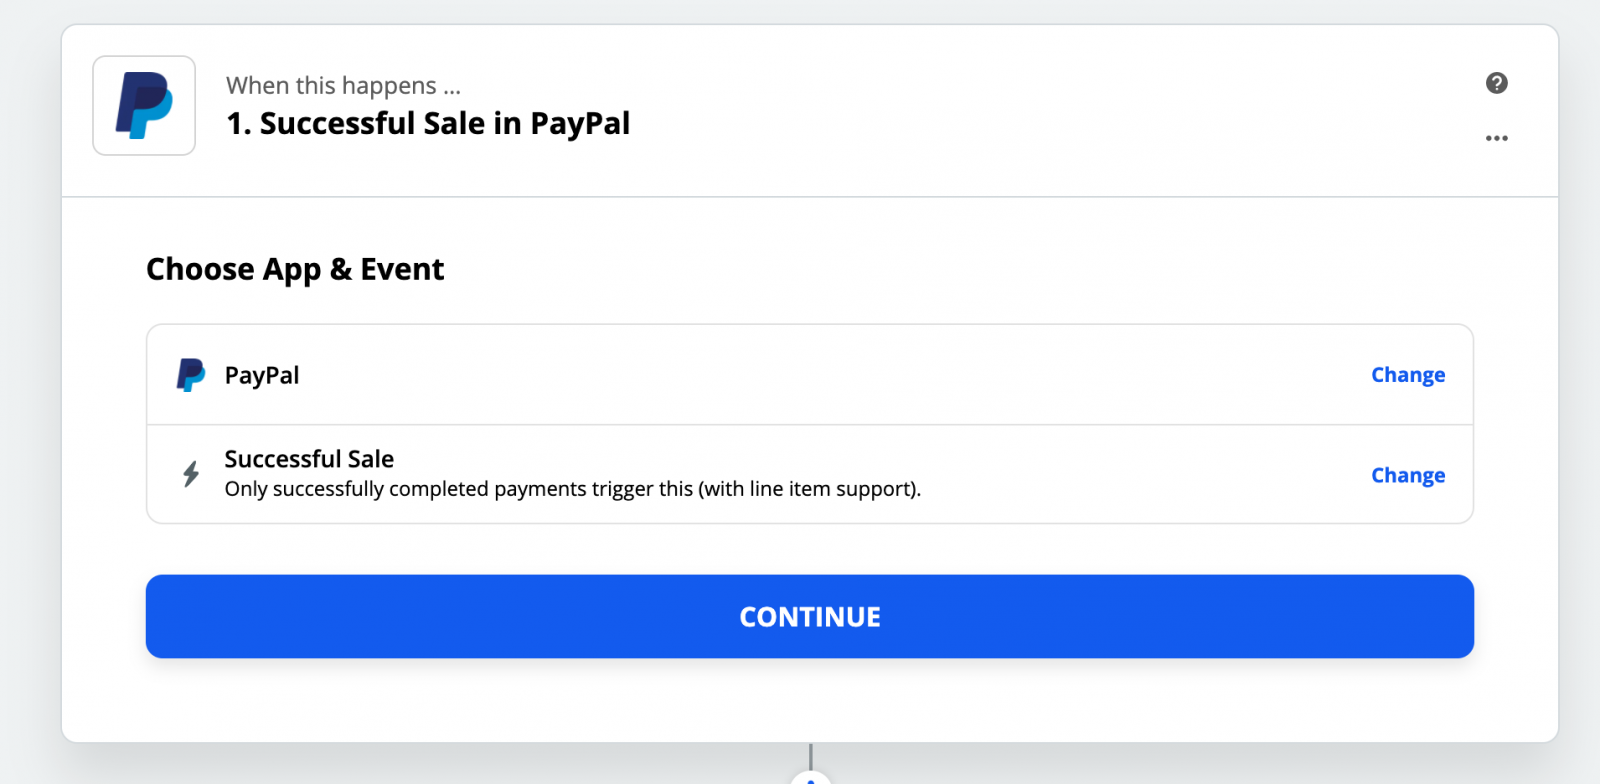
Next, we'll set up our integration with PayPal using Zapier. In Zapier, click the New Zap button, and then pick PayPal as the Trigger service and Successful Sale as the trigger.
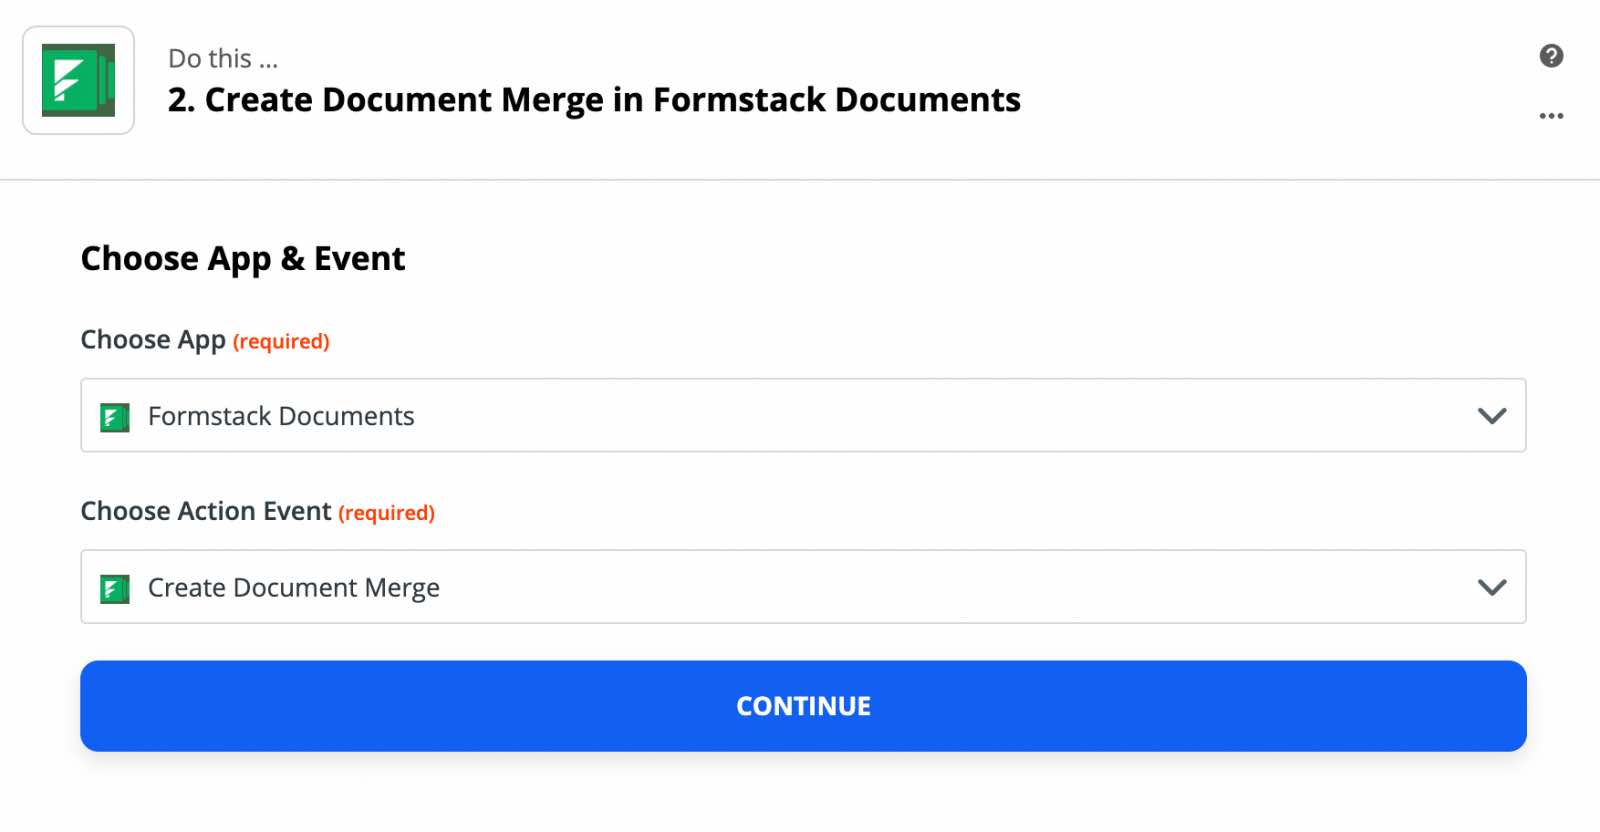
After you authenticate your PayPal account, Zapier will have you load a test payment to make sure everything is working. Follow those steps and continue. For the Action of our Zap we’re going to choose Formstack Documents as the service and then "Create Document Merge" as the action.
After you authenticate your Formstack Documents account, Zapier is going to load a list of the documents in your account. Go ahead and pick the letter you just setup and then Zapier will load a list of all the merge fields in your document.
For each of the merge fields, you’ll need to pick the corresponding fields from PayPal. This tells Zapier how to send your payment data over to Formstack Documents so that it is populated in the correct spot on your template.
Once you have matched up all of your merge fields, go ahead and save your Zap and then we’re ready for a test! Submit some test payment data to ensure your workflow is working properly. Zapier will send that payment data over to Formstack Documents, and your letter will be generated.
Here’s what our letter looked like ready to mail:

Congrats, you’re all done! You can now automatically populate all types of documents from your PayPal account.

